Commenting on an Existing Zendesk Forum Post
In addition to creating new forum posts in Zendesk, ScreenSteps can also add a comment to an existing forum post. This lesson will show you how commenting is done.
Export a Lesson

Select a lesson in ScreenSteps and export to Blog/Web.
Copy Forum Post URL to Clipboard
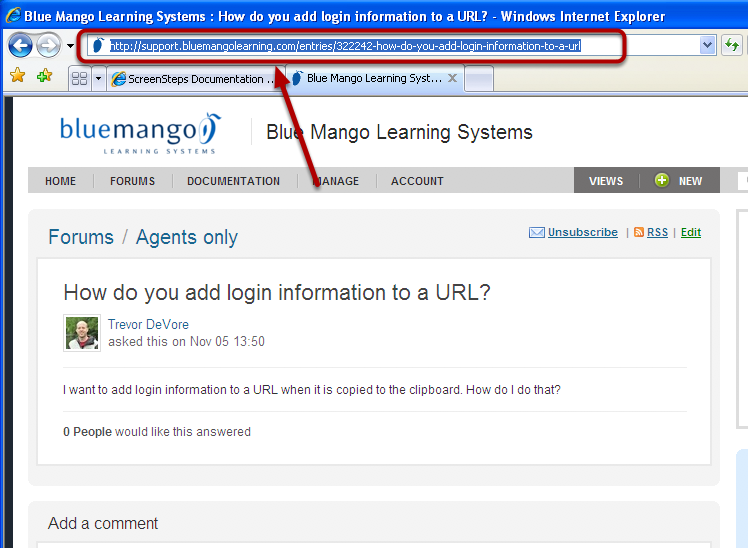
In a web browser, locate the Zendesk forum post you would like to comment on. While viewing the post in your browser, copy the URL of the post to the clipboard.
Enter Post URL and Select Template
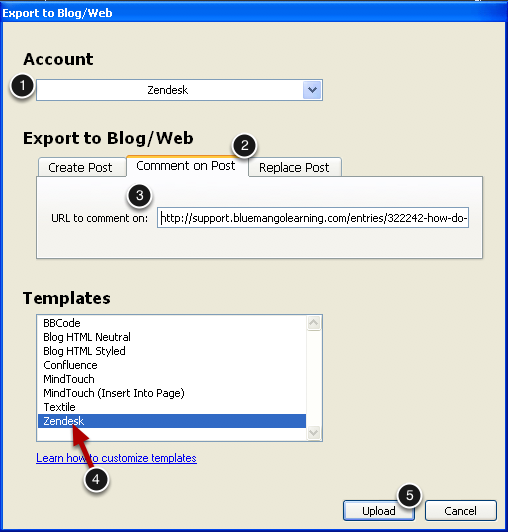
In the export dialog, select the Zendesk account you created earlier (1). Switch to the Comment on Post tab (2) and paste the URL you copied in the previous step (3).
Unless you have created your own custom template for use with Zendesk forums you should use the Zendesk template (4).
Click the Upload button to begin uploading your lesson (5).
All Done!
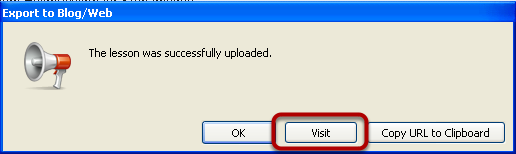
Once the lesson has finished uploading you will see this dialog. Click Visit to view the forum post in your browser.
The Result
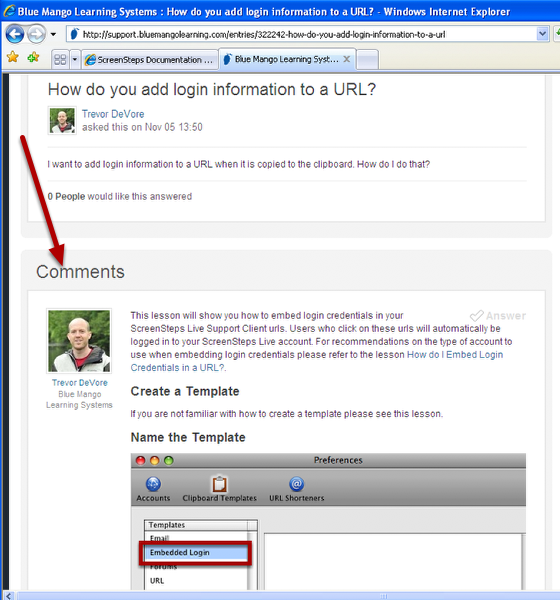
A new comment has been added to the forum post with all of the images from the lesson. Adding visual comments to forums posts has never been easier.